Building Your Lecture Capture Studio: A Step-by-Step Guide
Creating high-quality recordings of your lectures is a game-changer for education, offering students flexible learning options, review materials, and accessibility enhancements. Whether you’re aiming for online courses, flipped classrooms, or simply enriched learning resources, a well-designed lecture capture studio is key. This comprehensive guide provides a step-by-step roadmap to building your own studio, from initial planning to ongoing maintenance.
Step 1: Defining Your Needs and Goals: The Foundation of Your Studio
Before diving into equipment or construction, clearly define your objectives. A well-defined purpose will guide every decision you make. Ask yourself these crucial questions:
- Lecture Content & Style: What type of lectures will you record? Traditional lectures, demonstrations, interactive sessions, panel discussions, or something else? The format will influence your equipment choices. For example, a demonstration-heavy lecture might require multiple camera angles.
- Budget Constraints: Realistically assess your budget. This will significantly impact your equipment options. Prioritize essential equipment first and consider upgrades later. There are budget-friendly solutions as well as high-end options.
- Quality Expectations: What level of quality do you need? Is basic recording for archival purposes sufficient, or do you require high-definition video and pristine audio for online courses or professional presentations? Your quality goals will determine the necessary investment.
- Content Delivery & Access: Where will the recordings be hosted and accessed? Will you integrate with a Learning Management System (LMS) like Moodle or Canvas? Will you use public platforms like YouTube or Vimeo? Consider storage needs and accessibility features.
- Live Streaming Requirements: Do you need live streaming capabilities alongside recording? This adds another layer of complexity to your setup and requires specific equipment and bandwidth considerations.
- Operational Logistics: Who will operate the equipment? Will it be the instructor, a dedicated technician, or will you automate the process? This will influence the complexity of your setup and the need for training.
Answering these questions thoroughly will provide a solid foundation for your studio design.
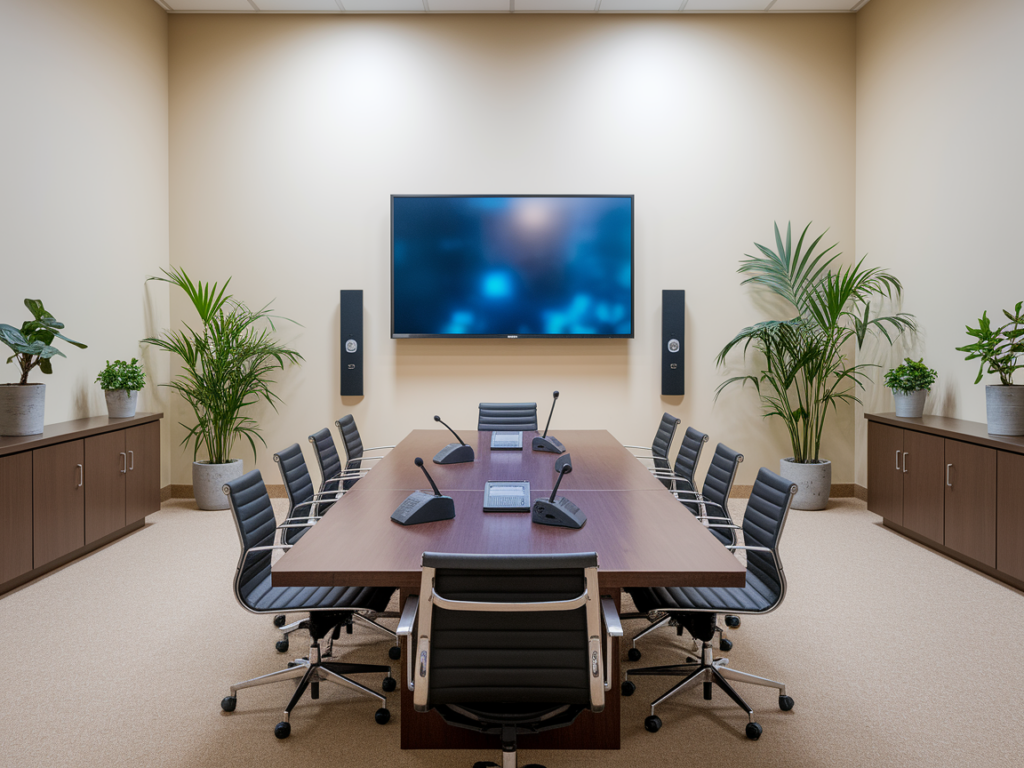
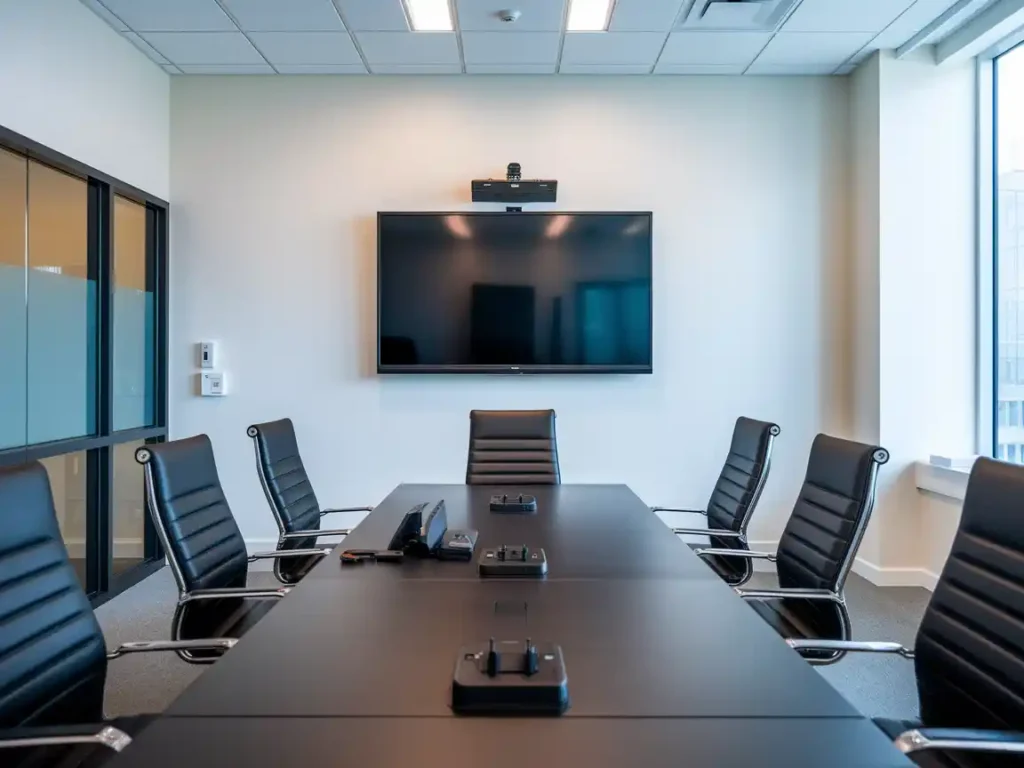
Step 2: Choosing the Right Location: The Stage for Your Lectures
The location of your studio is paramount. It should be a space conducive to recording and free from distractions. Consider these factors:
- Space Adequacy: Ensure enough space for the presenter, camera(s), lighting, and all equipment. A dedicated room is ideal, offering privacy and control. However, a well-partitioned area within a larger space can also work if sound and lighting are carefully managed.
- Acoustic Considerations: Choose a quiet space with minimal background noise. External noise (traffic, hallway sounds) and internal noise (HVAC systems, computer fans) can be disruptive. Consider soundproofing or acoustic treatment (sound-absorbing panels, bass traps) if necessary to improve audio quality.
- Lighting Environment: Consistent and adequate lighting is crucial for professional-looking videos. Avoid backlighting (light source behind the presenter) and ensure even illumination across the presenter’s face and body. Natural light can be problematic due to its variability; controlled artificial lighting is generally preferred.
- Connectivity Infrastructure: Ensure easy access to power outlets for all equipment. Robust network connections (wired Ethernet is generally preferred over Wi-Fi for stability) are essential for uploading recordings and live streaming. Consider internet bandwidth requirements, especially for live streaming.
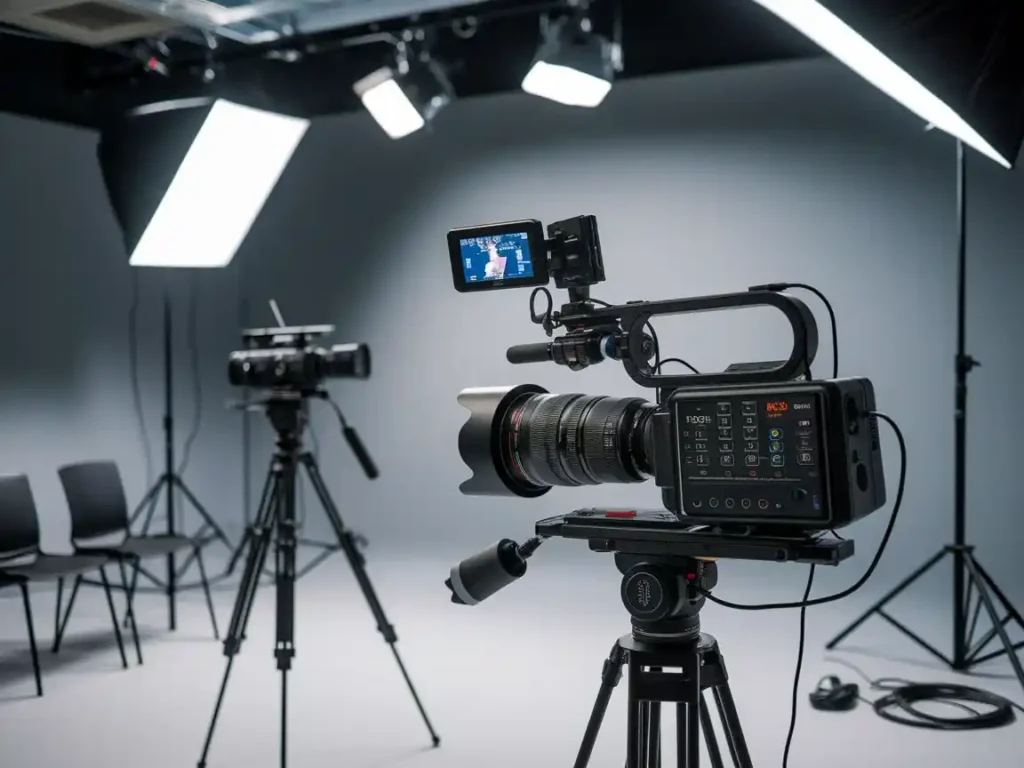
Step 3: Selecting Your Equipment: The Tools of the Trade
Your budget and quality requirements will heavily influence your equipment choices. Here’s a breakdown of essential equipment:
- Camera(s): The camera is your primary visual capture tool.
- Webcams: Budget-friendly and easy to use for basic recordings. Image quality may be limited.
- PTZ Cameras (Pan-Tilt-Zoom): Offer flexibility with remote control of pan, tilt, and zoom. Ideal for capturing different angles and movements.
- Camcorders/DSLRs: Provide higher image quality, more manual control, and interchangeable lenses. Best for professional-looking videos.
- Multiple Cameras: Using multiple cameras allows for dynamic switching between angles, creating a more engaging viewing experience.
- Microphone(s): High-quality audio is paramount.
- Lavalier Microphones (Lapel mics): Clip-on mics that provide clear and consistent voice capture, minimizing background noise. Ideal for single presenters.
- Shotgun Microphones: Highly directional mics that capture sound from a specific source while rejecting ambient noise. Good for capturing sound from a distance.
- Wireless Microphones: Offer freedom of movement for the presenter. Consider lavalier or handheld wireless mics.
- Ceiling Microphones: Discreetly mounted on the ceiling, these mics can capture sound from multiple speakers or a wider area.
- Audio Interface (Optional but Recommended): If using multiple microphones, high-quality microphones, or want greater control over audio mixing and processing, an audio interface is highly recommended. It improves sound quality and offers more input options.
- Lighting: Proper lighting is essential for video quality.
- Softboxes: Provide diffused, even lighting, minimizing harsh shadows.
- LED Panels: Energy-efficient, offer adjustable color temperature, and provide consistent illumination.
- Three-Point Lighting Setup: A standard technique using a key light, fill light, and backlight for professional-looking results.
- Capture Device/Software: You’ll need a way to record and process the video and audio signals.
- Capture Cards: Hardware devices that connect to your computer and allow you to capture high-quality video from cameras.
- Screen Recording Software: Captures what’s displayed on your computer screen, useful for recording presentations or software demonstrations.
- Lecture Capture Software: Dedicated software with features like automatic recording, scheduling, metadata tagging, and LMS integration.
- Computer: A computer with sufficient processing power (CPU and RAM) and storage space is needed for recording, editing, and storing the lecture recordings. Consider a dedicated computer for the studio to avoid performance issues.
- Tripod(s)/Mounts: Securely mount your camera(s) and microphones. Tripods offer stability, while mounts provide more flexibility in camera placement.
- Cables and Connectors: Ensure you have all the necessary cables (HDMI, USB, XLR, audio cables, power cables) to connect your equipment. Use high-quality cables to minimize signal loss.
- Monitor(s): A monitor allows you to see what the camera is capturing and ensure proper framing and focus. If using multiple cameras, a multi-view monitor can be helpful.
Step 4: Setting Up Your Studio: Bringing It All Together
- Camera Placement: Position the camera(s) to capture the presenter effectively. Consider using multiple camera angles for more dynamic recordings. Experiment with different positions to find the best framing.
- Microphone Placement: Position the microphone(s) to capture clear audio while minimizing background noise. Lavalier mics should be clipped close to the presenter’s chest. Shotgun mics should be positioned to point towards the sound source.
- Lighting Setup: Set up your lighting to create even illumination and avoid shadows. Use a three-point lighting setup for professional results. Adjust the intensity and color temperature of the lights to create the desired look.
- Equipment Connections: Connect all your equipment according to the manufacturer’s instructions. Double-check all connections to ensure proper signal flow. Use cable management solutions to keep cables organized and prevent tripping hazards.
- Test Recordings: Make test recordings to check audio and video quality, lighting, and camera angles. Review the recordings carefully and make any necessary adjustments.
Step 5: Configuring Your Software: The Brains of the Operation
- Install and Configure: Install your chosen capture software and configure it to work with your hardware. Consult the software documentation for specific instructions.
- Audio and Video Settings: Adjust audio and video settings (resolution, frame rate, bit rate) to optimize recording quality based on your needs and storage capacity.
- Recording Settings: Configure recording settings such as file format (MP4 is generally recommended), resolution, frame rate, and audio channels.
- LMS Integration (If Applicable): Set up integration with your learning management system if required. This will allow you to easily upload and distribute your lecture recordings.
- Streaming Settings (If Applicable): If you’re live streaming, configure the streaming settings in your software, including the streaming platform, resolution, and bit rate.
Step 6: Testing and Refining: The Iterative Process
- Full Test Run: Conduct a full test recording of a mock lecture to simulate a real recording scenario. This will help identify any remaining issues.
- Review and Adjust: Review the full test recording carefully, paying attention to audio and video quality, lighting, camera angles, and overall presentation. Make any necessary adjustments to lighting, microphone placement, camera settings, or software configurations.
- Practice: Practice using the equipment and software to become familiar with the workflow. The more comfortable you are with the setup, the smoother your recordings will be.
Step 7: Ongoing Maintenance: Keeping Your Studio in Top Shape
- Regular Checks: Regularly check your equipment and software to ensure everything is functioning correctly. Inspect cables for damage, clean lenses, and check microphone batteries.
- Software Updates: Keep your software up to date to benefit from new features, bug fixes, and security patches. Enable automatic updates if available.
- Equipment Maintenance: Clean your equipment regularly according to manufacturer instructions. Dust buildup can affect performance and shorten the lifespan of electronic components. Check microphone cables and connections regularly.
- Firmware Updates: Keep the firmware on your cameras, microphones, and other devices updated. Firmware updates often include performance improvements and bug fixes.
- Storage Management: Manage your storage space effectively. Lecture recordings can take up significant space. Consider using external hard drives or cloud storage for archiving. Implement a clear file naming convention and folder structure to keep your recordings organized.
- Backup Strategy: Implement a robust backup strategy to protect your valuable lecture recordings. Regularly back up your files to an external drive or cloud storage.
- Training and Support: Provide training and support for anyone who will be using the lecture capture studio. Ensure they are familiar with the equipment, software, and workflow. Create documentation or quick start guides for easy reference.
- Regular Testing: Periodically perform test recordings to ensure everything is still working correctly. This will help you catch any potential issues before they become major problems.
Tips for Enhancing Your Lecture Recordings:
- Visual Aids: Use visual aids such as slides, images, and videos to make your lectures more engaging.
- Vary Your Presentation: Don’t just read from your notes. Vary your tone of voice, use gestures, and interact with the material to keep viewers interested.
- Keep it Concise: Break up long lectures into shorter segments to make them easier to digest.
- Edit Your Recordings: Edit your recordings to remove any mistakes, pauses, or unnecessary content. Adding titles, transitions, and other visual elements can enhance the viewing experience.
- Add Captions: Adding captions to your videos makes them accessible to a wider audience, including those who are deaf or hard of hearing. Captions also improve comprehension for viewers watching in noisy environments.
- Use Metadata: Add metadata (tags, descriptions, keywords) to your recordings to make them easier to find and search.
Troubleshooting Common Issues:
- No Audio: Check microphone connections, audio interface settings, and software input settings.
- Poor Audio Quality: Adjust microphone placement, reduce background noise, and consider using an audio interface for better control.
- No Video: Check camera connections, power supply, and software input settings.
- Poor Video Quality: Adjust camera settings (resolution, focus), ensure adequate lighting, and use high-quality cables.
- Software Issues: Consult the software documentation or contact support for troubleshooting assistance.
By following this comprehensive guide, you can create a high-quality lecture capture studio that meets your specific needs and enhances the learning experience for your students. Remember that building a studio is an iterative process. Don’t be afraid to experiment, refine your setup, and make adjustments as needed. With careful planning, the right equipment, and ongoing maintenance, you can create a valuable resource for education.